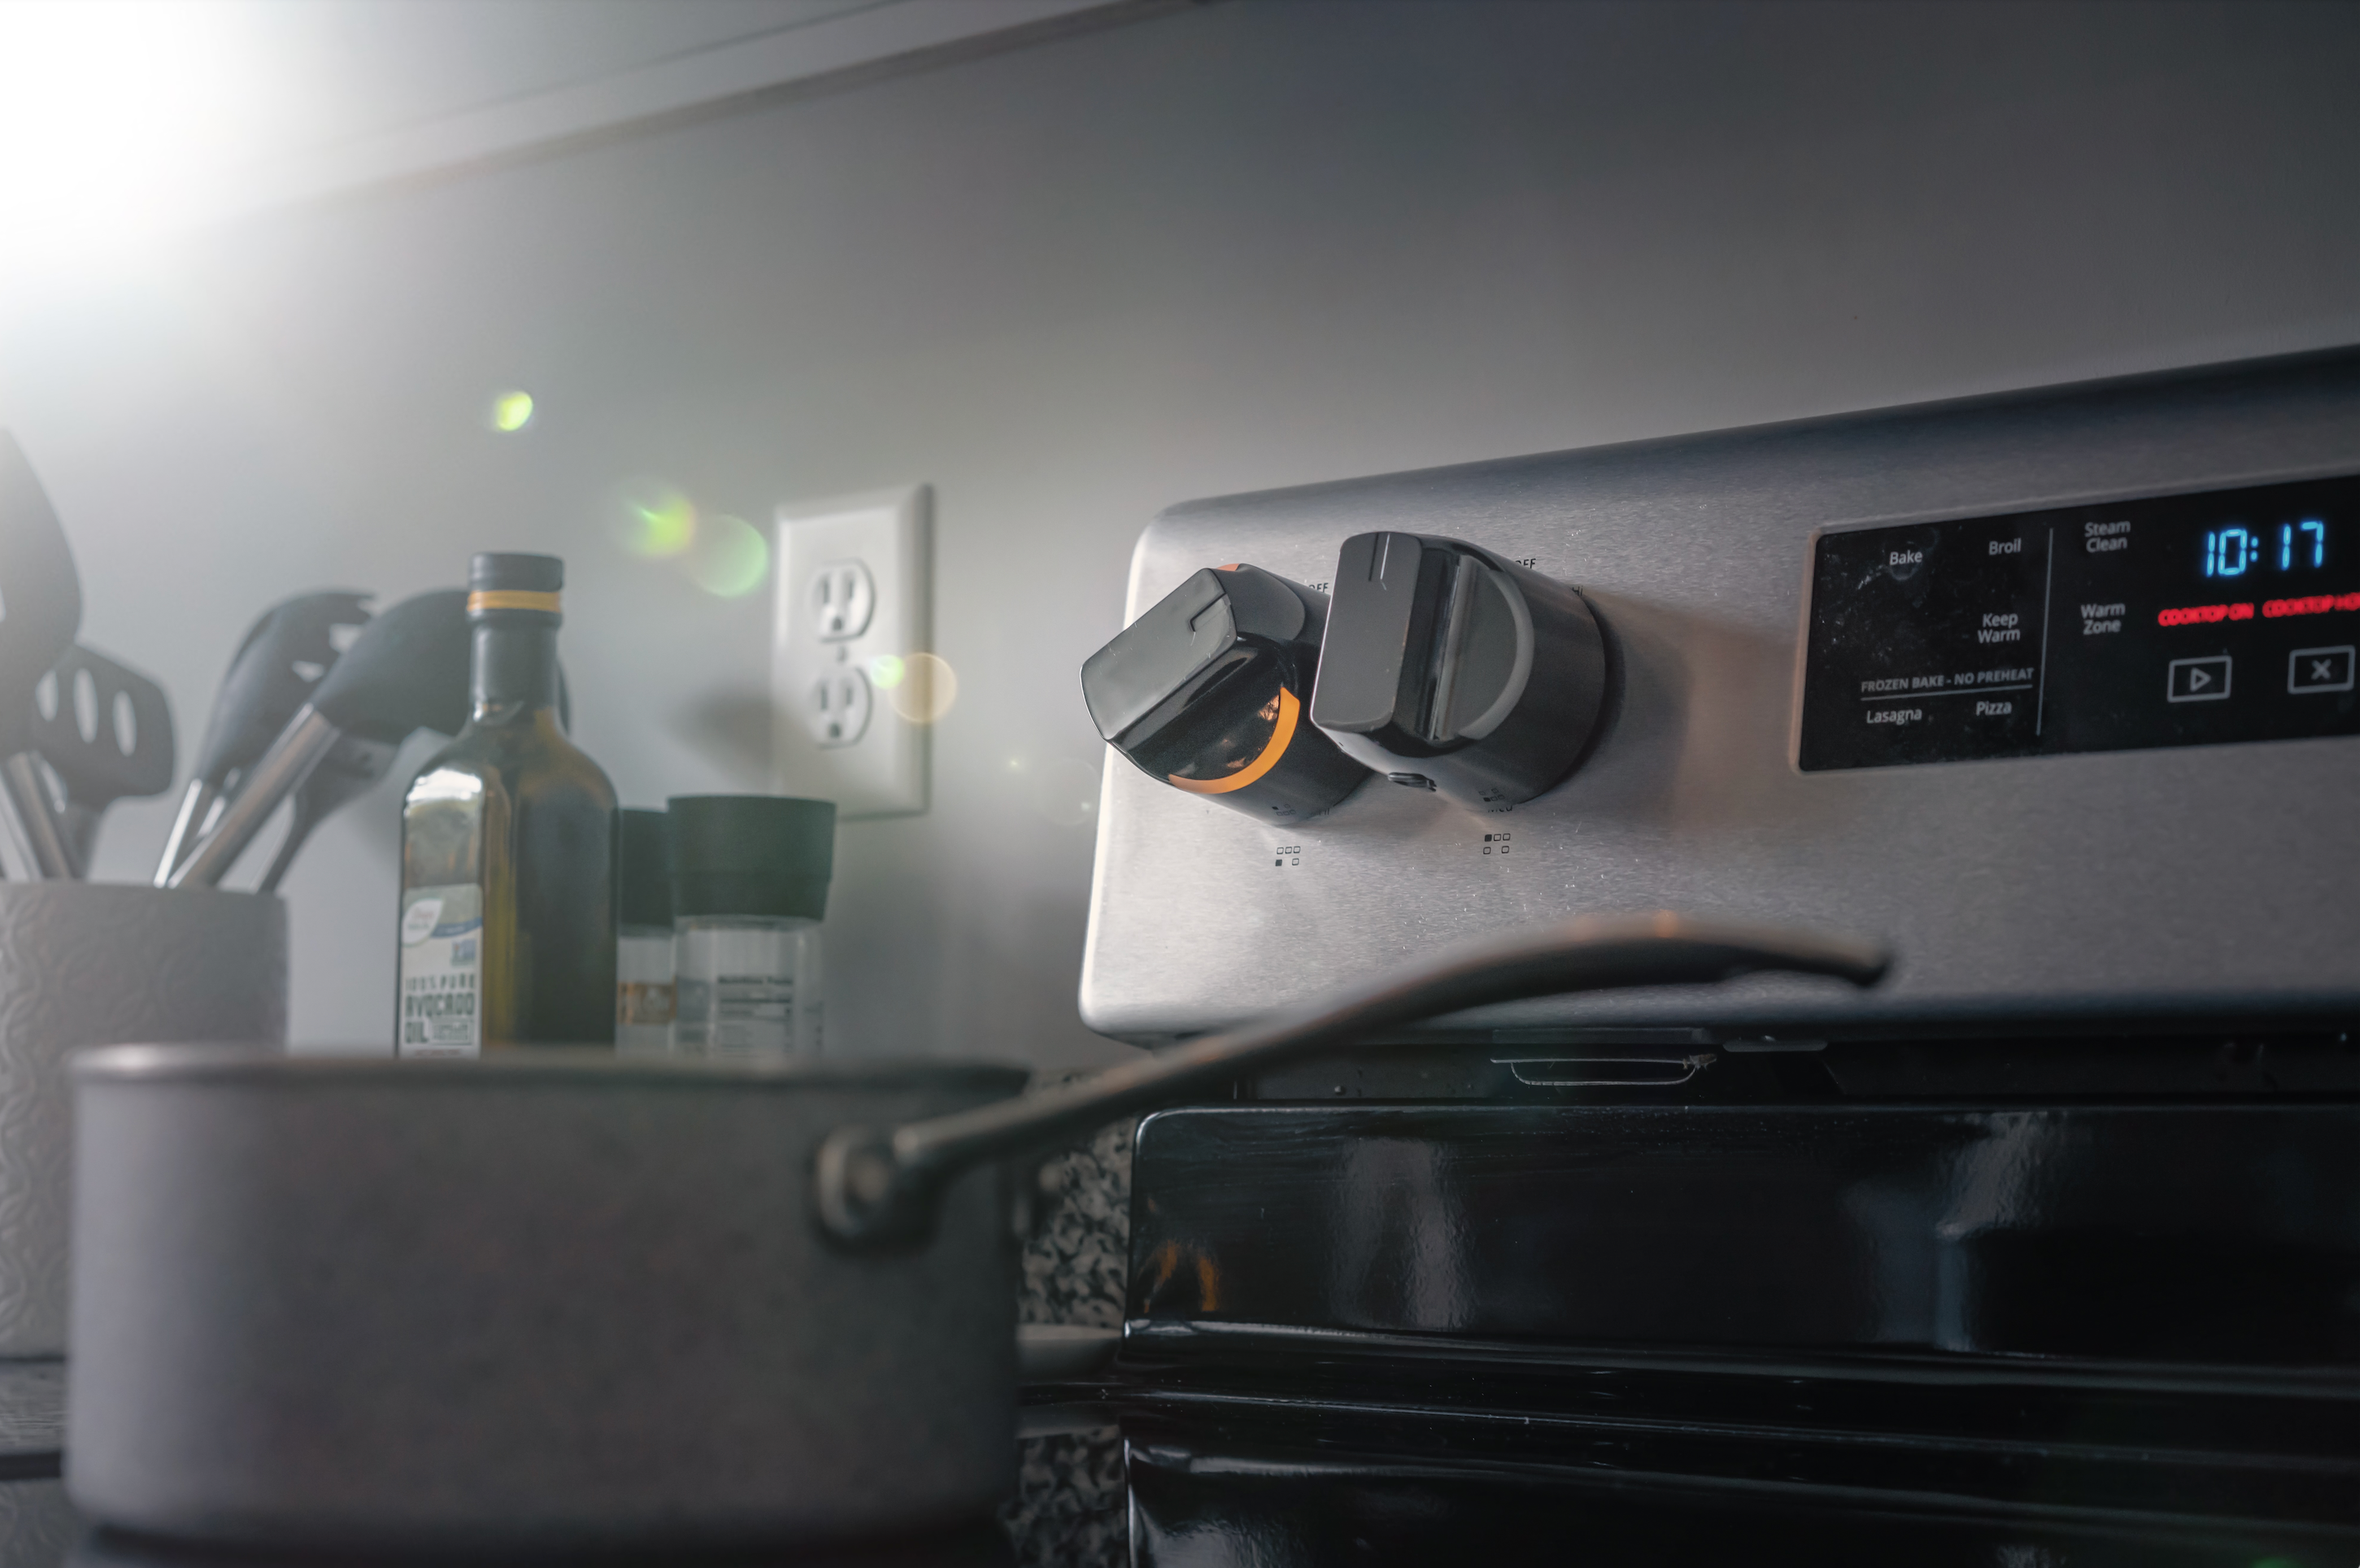
Knob Installation Guide
Follow the steps and watch our detailed installation video below to install the Ome Smart Stove Knob.
How to Setup Ome Smart Knob
Installation FAQ
Installation Part 1: Adapter, Metal Plate, and Metal Plate Cover
Following the steps included in these series of YouTube videos.
Installation Part 2: Ome Smart Knob
Follow the series of steps included in these YouTube videos.
Remove a knob
Follow the steps in this YouTube video.
PARTS NEEDED: Ome knob + small allen wrench
To remove a knob from your stove, gently pull the knob straight back until it slides off. If you want to reattach your original knob in the meantime, loosen the adapter with the small allen wrench, slide it off and remove the metal plate cover. Leave the metal plate in place.
*Do not adjust the center set screw.
Identifying High, Medium, and Low Settings
If the HIGH, MEDIUM and LOW setting markings are printed on your stove knob (not on the stove surface), make sure to properly identify these before setting up your Ome knob in the app.
Follow this video to see how!
Understanding your Ome Knob
In daily use, the Ome LEDs indicate burner setting
RED = High / ORANGE = Medium / YELLOW = Low
You may see the knob flash other colors. Here’s what they mean:
WHITE FLASHES (EVERY 15 SEC) = Knob is disconnected from Wi-Fi
GREEN FLASHES = Knob successfully connected to Wi-Fi
PURPLE = Knob is restarting
PULSING BLUE = Knob is charging
SOLID BLUE = Knob is fully charged
