Knob Installation Guide
Follow the steps and watch our detailed installation video below to install the Ome Smart Stove Knob.
How to Setup Ome Smart Knob
Installation

Installation Part 1:
Installing your Ome Smart Knob.
Scan the QR code and follow the steps!

Installation Part 2:
Calibrating your Ome Smart Knob.
Download the Ome app and follow the steps to get your Smart Knob online and calibrated with your burners’ settings!

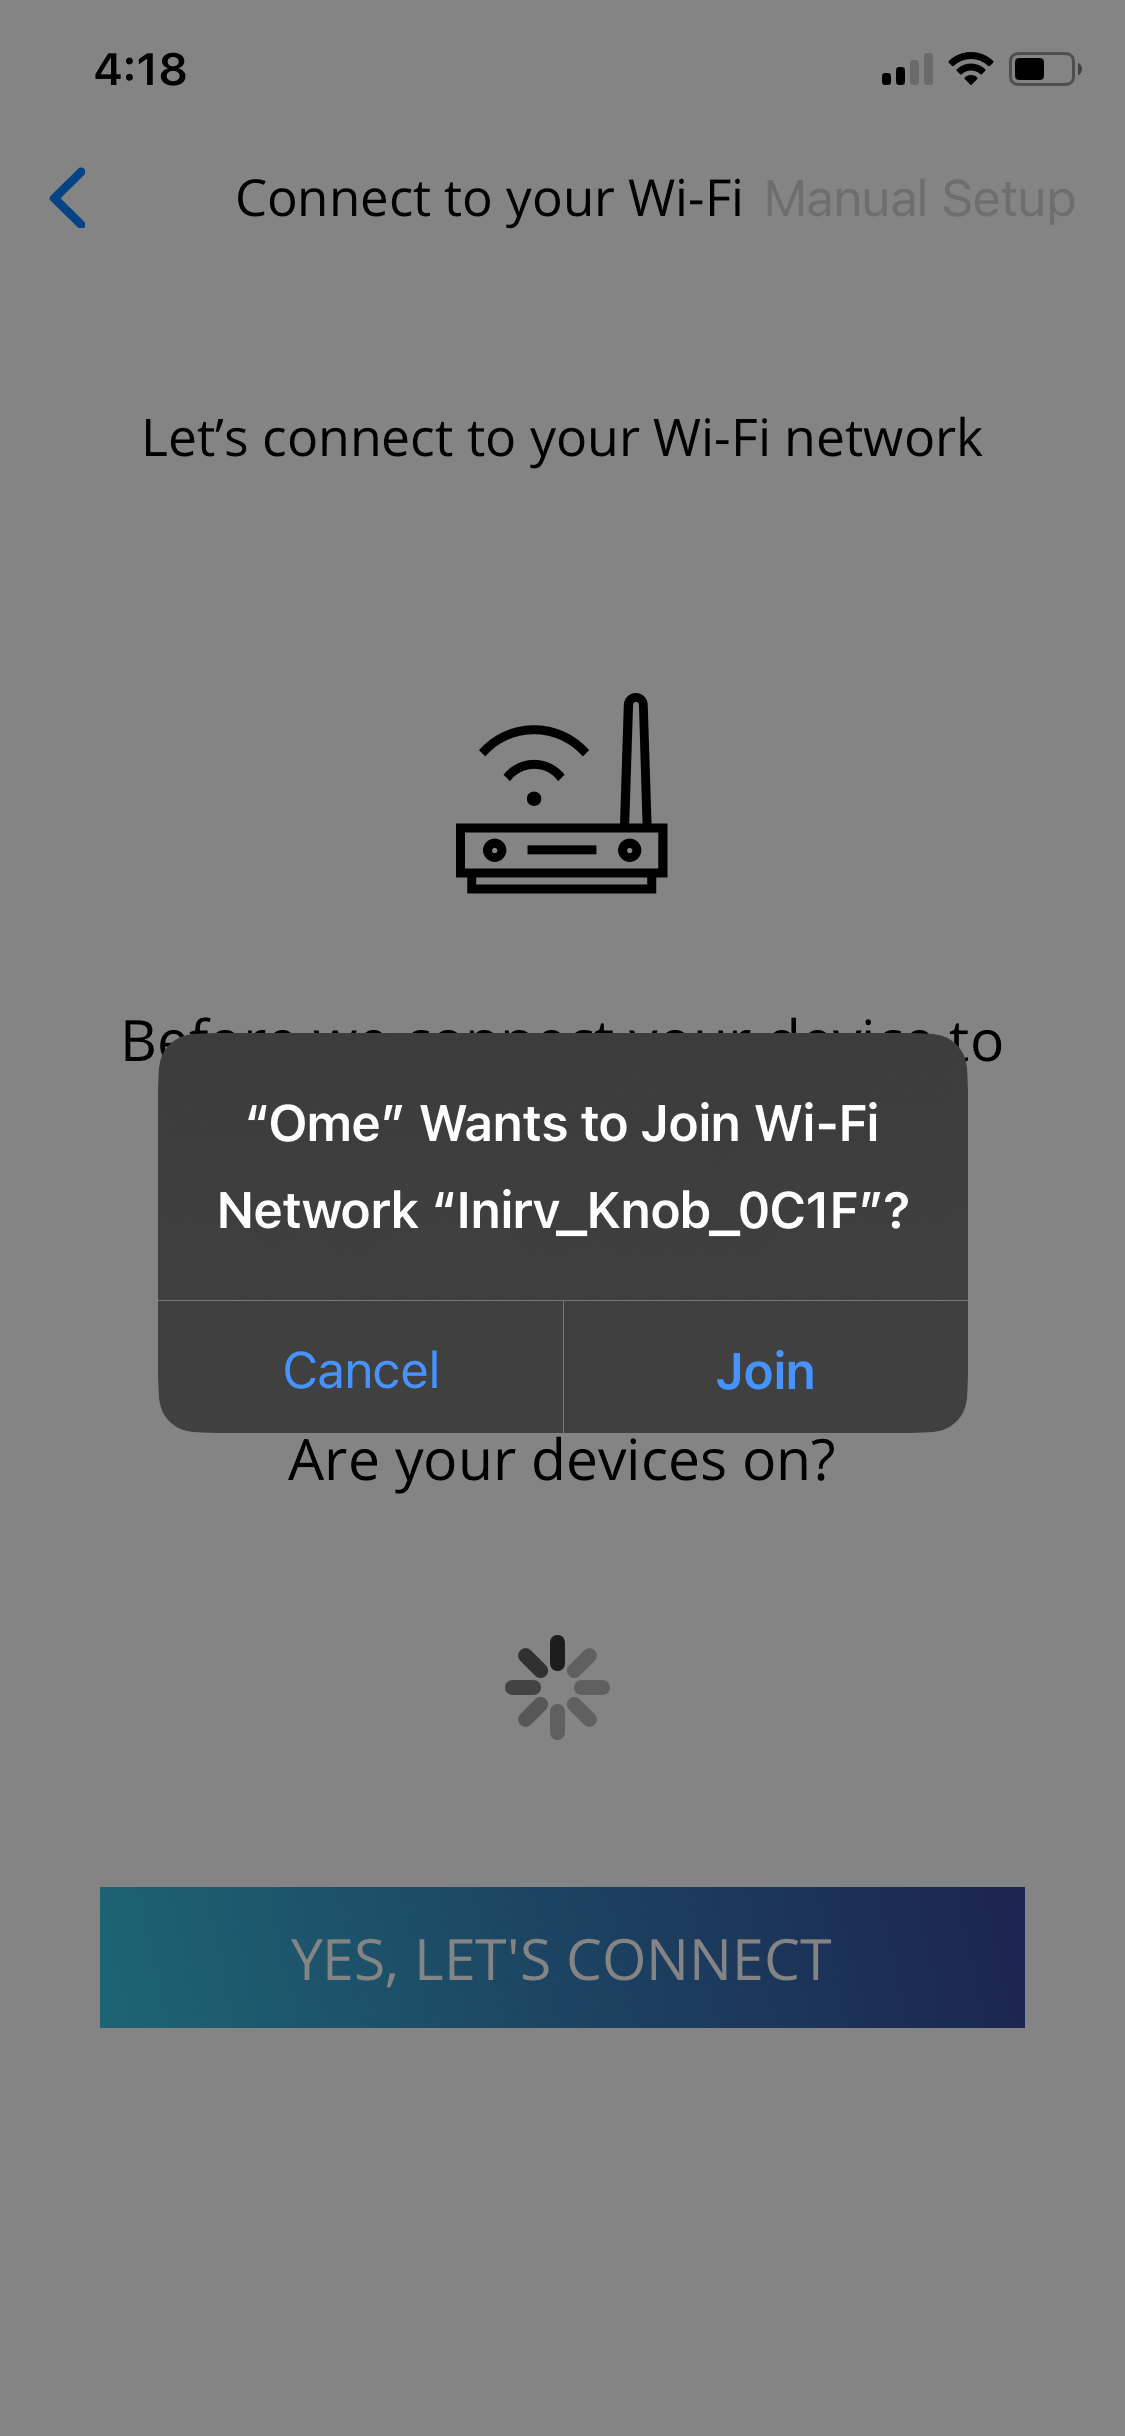
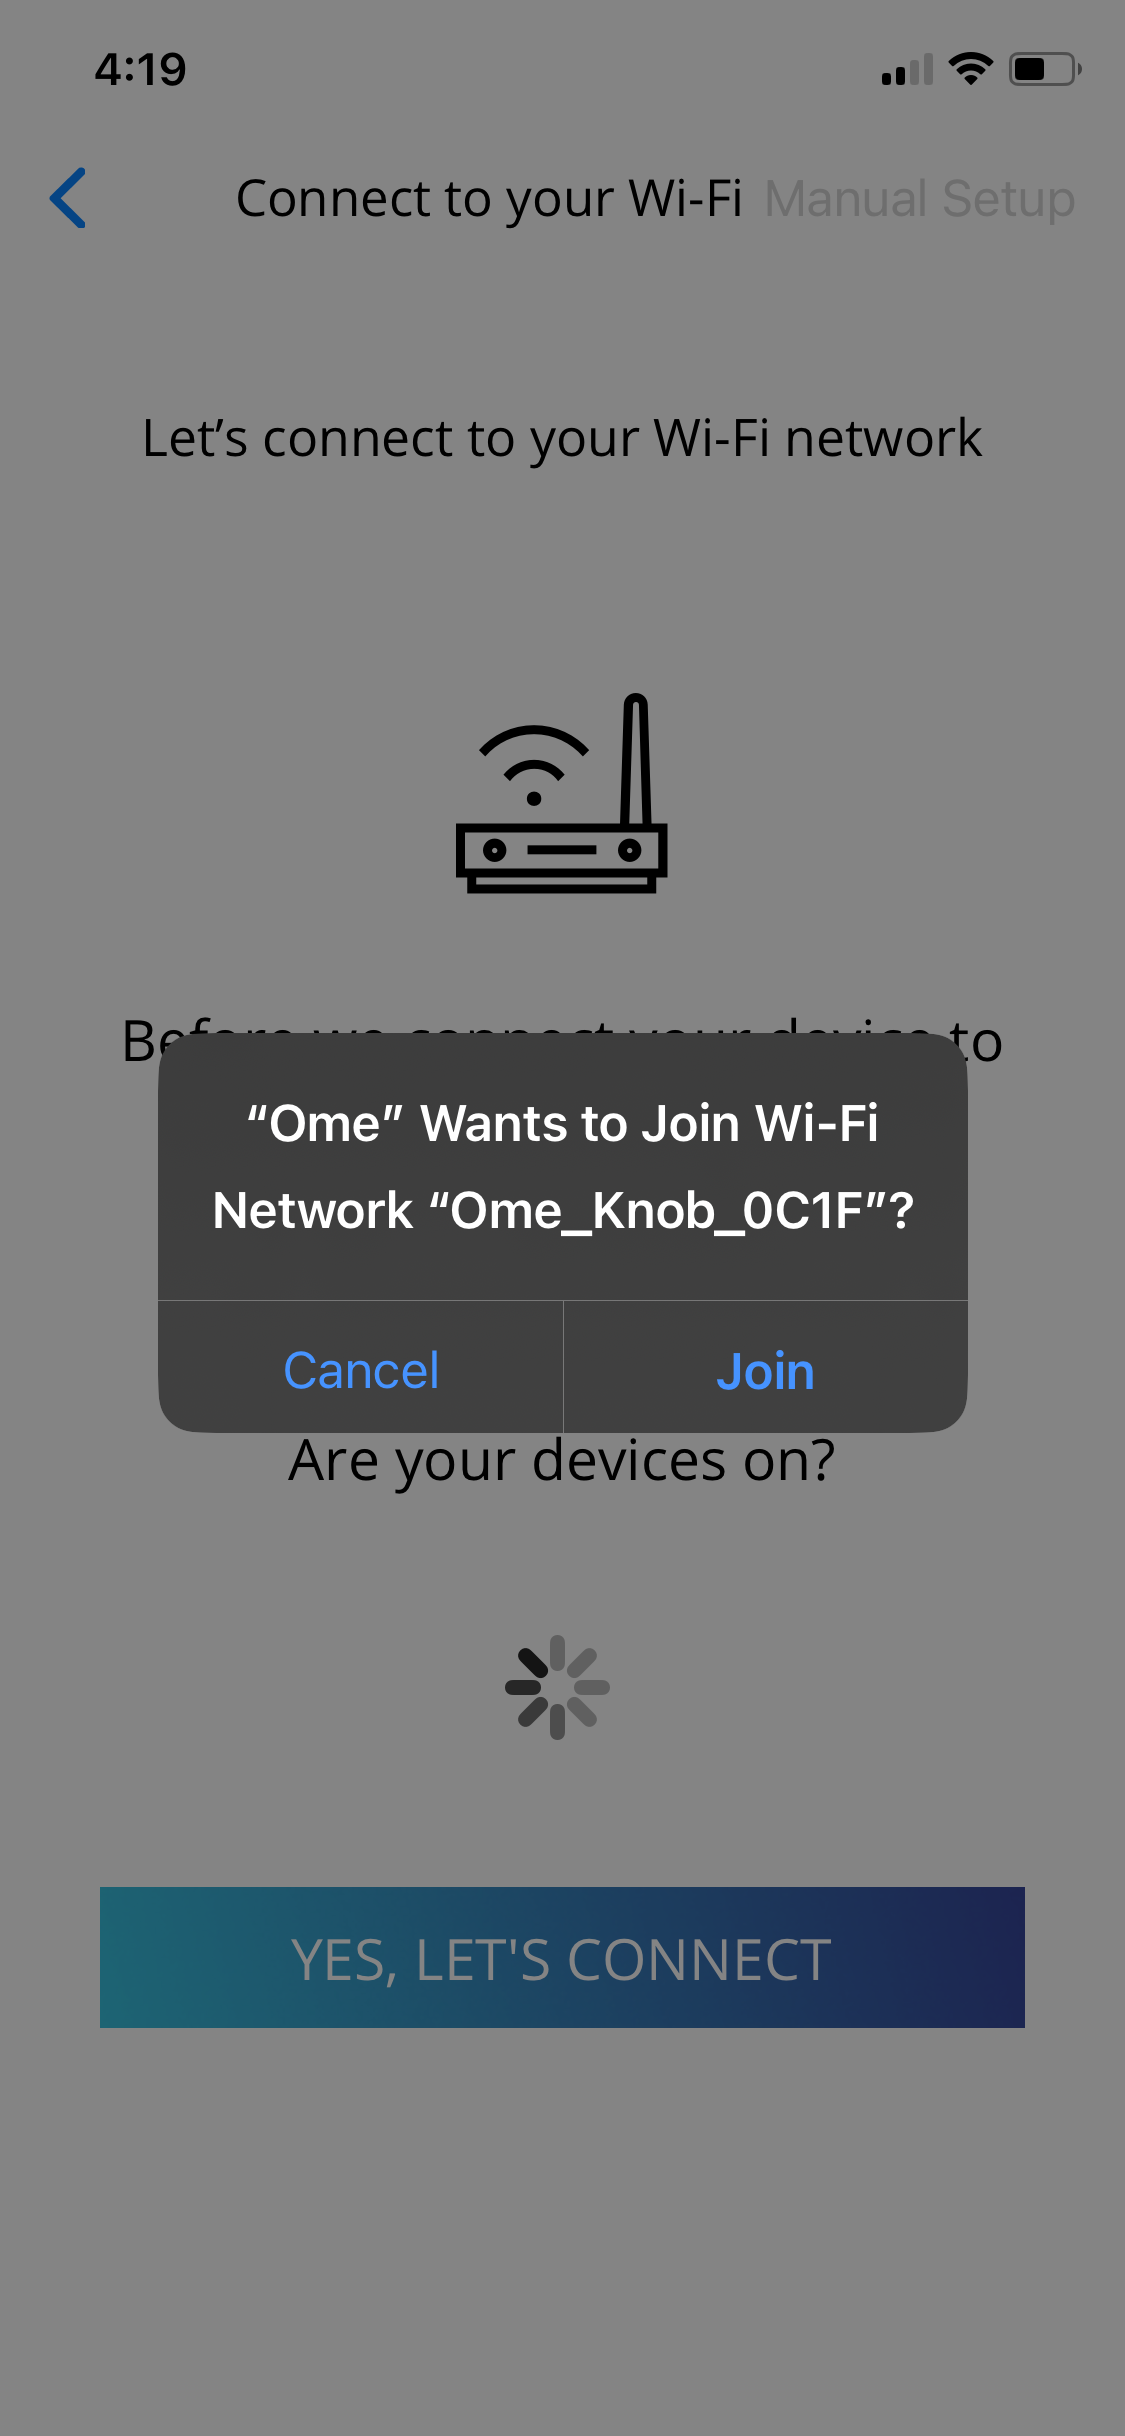
For V 1 Ome Smart Knobs, make sure to join the network “Inirv_Knob_XXXX” to connect your device to WiFi.

For V 2 Ome Smart Knobs, make sure to join the network “Ome_Knob_XXXX” to connect your device to WiFi. If “Inirv_Knob_XXXX” pops up first, click CANCEL and wait for “Ome_Knob_XXXX.”
Understanding your Ome Knob
In daily use, the Ome LEDs indicate burner setting
RED = High / ORANGE = Medium / YELLOW = Low
You may see the knob flash other colors. Here’s what they mean:
WHITE FLASHES (EVERY 15 SEC) = Knob is disconnected from Wi-Fi
GREEN FLASHES = Knob successfully connected to Wi-Fi
PURPLE = Knob is restarting
PULSING BLUE = Knob is charging
SOLID BLUE = Knob is fully charged
